Traditionally a user fills in a form in a webpage and has to actively press a save button in order to have the data stored. This has two main disadvantages: 1) this communication is normally done via http, which is much slower then a rest service cause it has much more overhead 2) a user nowadays expects direct feedback and expects a website to store data actively by itself.
Herefore a restfull service can be used, the following article describes how to enable a rest service within your own Jira Atlassian plugin.
Step 1: add a rest declaration to the atlassian-plugin.xml
The path element sets the context root to which all rest resources for your plugin will listen.
    <rest key="rest" path="/planning-forecast-overview" version="1.0">
        <description>Provides REST resources for the overview UI.</description>
    </rest>
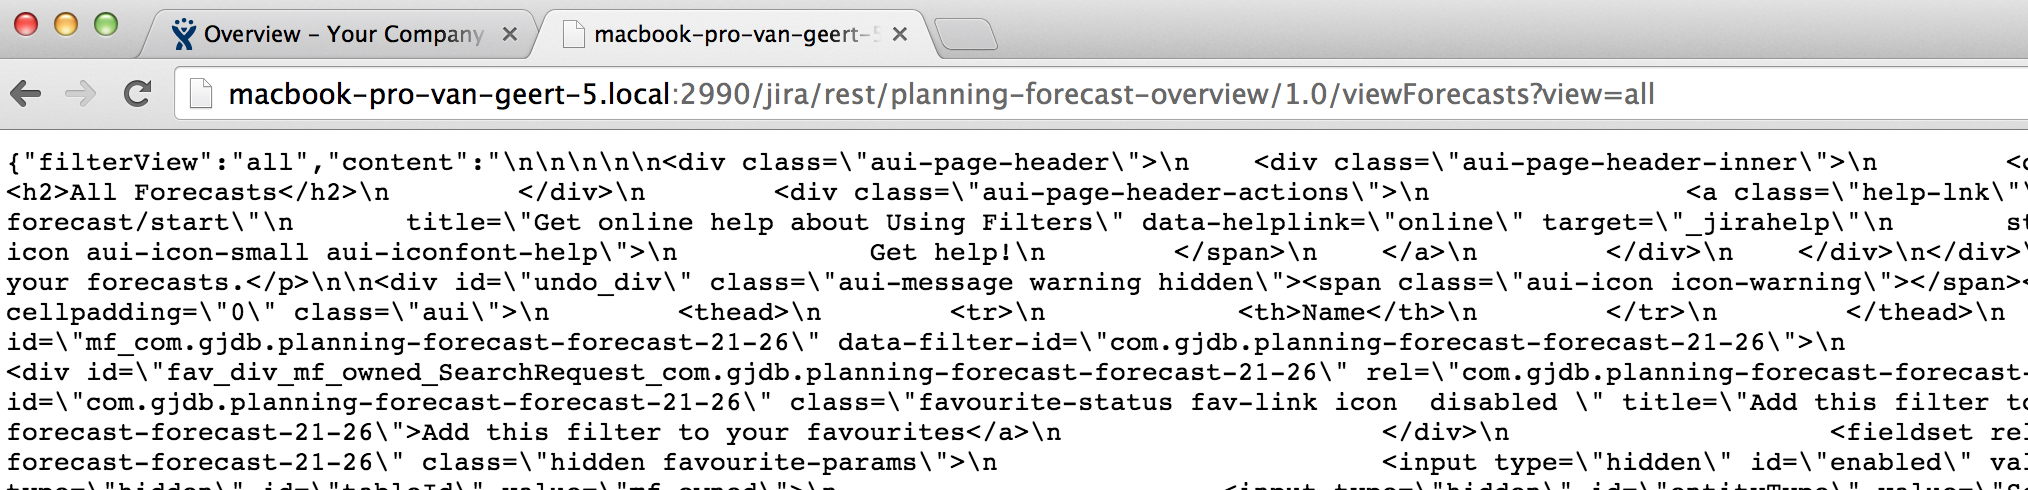
So, by the end of this example the rest service can be called as followed:
Step 2: Have a script trigger a rest call to the server
The following script is normally triggered by a click event, and sends a rest call to the server.
    function upsertClaim(value, span) {
        var spanId = span.getAttribute("id");
        var ids = spanId.split("-+-");

        AJS.$.ajax({
            url: baseUrl + "/rest/planning-forecast-overview/1.0/upsertClaim?issueId=" + ids[0] + "&periodId="+ ids[1]
                + "&value=" + value + "&forecastKey=" + getRequestParam("key"),
            dataType: "json",
            success: function(filter) {
                setSpanValue(span, value);
            }
        });

    }
Step 3: Add a Java class to process the restfull calls.
This particular example does not sent a response object, but this is also possible. This response would be in the “success” variable as a parameter.
package com.gjdb.plugins.jira.resources;

import com.atlassian.sal.api.transaction.TransactionCallback;
import com.atlassian.sal.api.transaction.TransactionTemplate;
import com.gjdb.plugins.jira.model.Claim;
import com.gjdb.plugins.jira.model.ClaimStatus;
import com.gjdb.plugins.jira.model.Forecast;
import com.gjdb.plugins.jira.repository.ForecastRepository;
import com.gjdb.plugins.jira.util.UserUtil;

import javax.servlet.http.HttpServletRequest;
import javax.ws.rs.GET;
import javax.ws.rs.Path;
import javax.ws.rs.Produces;
import javax.ws.rs.core.Context;
import javax.ws.rs.core.MediaType;
import javax.ws.rs.core.Response;

/**
 * @author GJDB
 */
@Path("/upsertClaim")
public class UpsertClaimResource {

    private final TransactionTemplate transactionTemplate;

    public UpsertClaimResource(TransactionTemplate transactionTemplate) {
        this.transactionTemplate = transactionTemplate;
    }

    @GET
    @Produces(MediaType.APPLICATION_JSON)
    public Response get(@Context final HttpServletRequest request) {
        if(!UserUtil.allowAccess(request, UserUtil.getAdminUserGroups())) {
            return Response.status(Response.Status.UNAUTHORIZED).build();
        }

        return Response.ok(transactionTemplate.execute(new TransactionCallback() {
            public Object doInTransaction() {
            final String issueId = request.getParameter("issueId");

            <logic removed for this blog>

            return null;
            }
        })).build();
    }

}
Result
When you monitor the traffic between the browser and the server, you should see something like the following when on a [click] event a rest call is being performed. Note that a 200 response means it is processed without errors.
