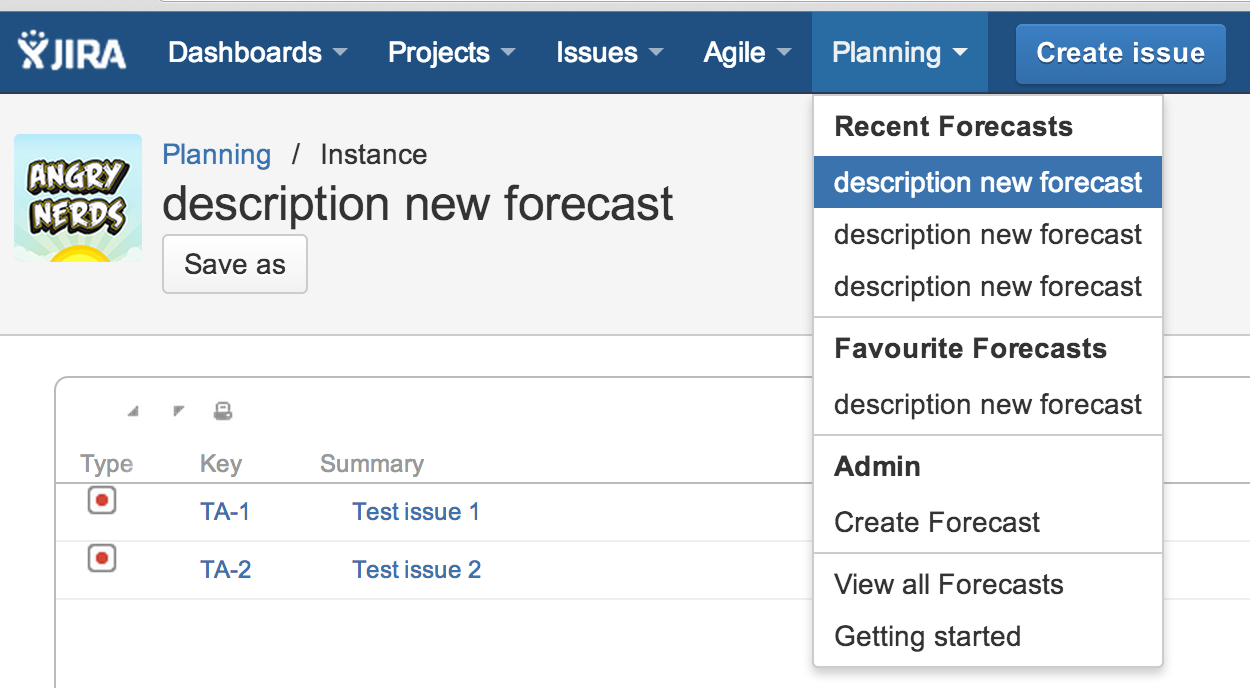
When you want to generate a menu item for your Jira plugin you can use the following sample. This enables you to group menu item [this separates them with a horizontal line] and enables you to specify conditions on when menu items should be shown.
The below code will present the following menu item.
Step 1: Specify web-section, web-item and simple-link-factory in the atlassian-plugin.xml
The web-item on the root level gets the location “system.top.navigation.bar”. This places the menu item in the top menu bar of Jira. In this example it is called “Planning”.
This root level web-item consists of web-section items and web-items, and are referred to via the attribute “location”. A web-section can refer to a simple-link-factory, which is a Java class in which logic can be entered when menu item should or should not be shown.
<web-section key="menu_section_recent" name="Menu Section" location="menu_link" weight="10">
<label key="menu.forecast.recent"/>
</web-section>
<web-section key="menu_section_favourite" name="Menu Section" location="menu_link" weight="10">
<label key="menu.forecast.favourite"/>
</web-section>
<web-section key="menu_section_general" name="Menu Section" location="menu_link" weight="10"/>
<web-item key="menu_link" name="Instances" section="system.top.navigation.bar" weight="47">
<label key="menu.forecast.planning"/>
<link linkId="menu_link">http://www.geertjan.it</link>
</web-item>
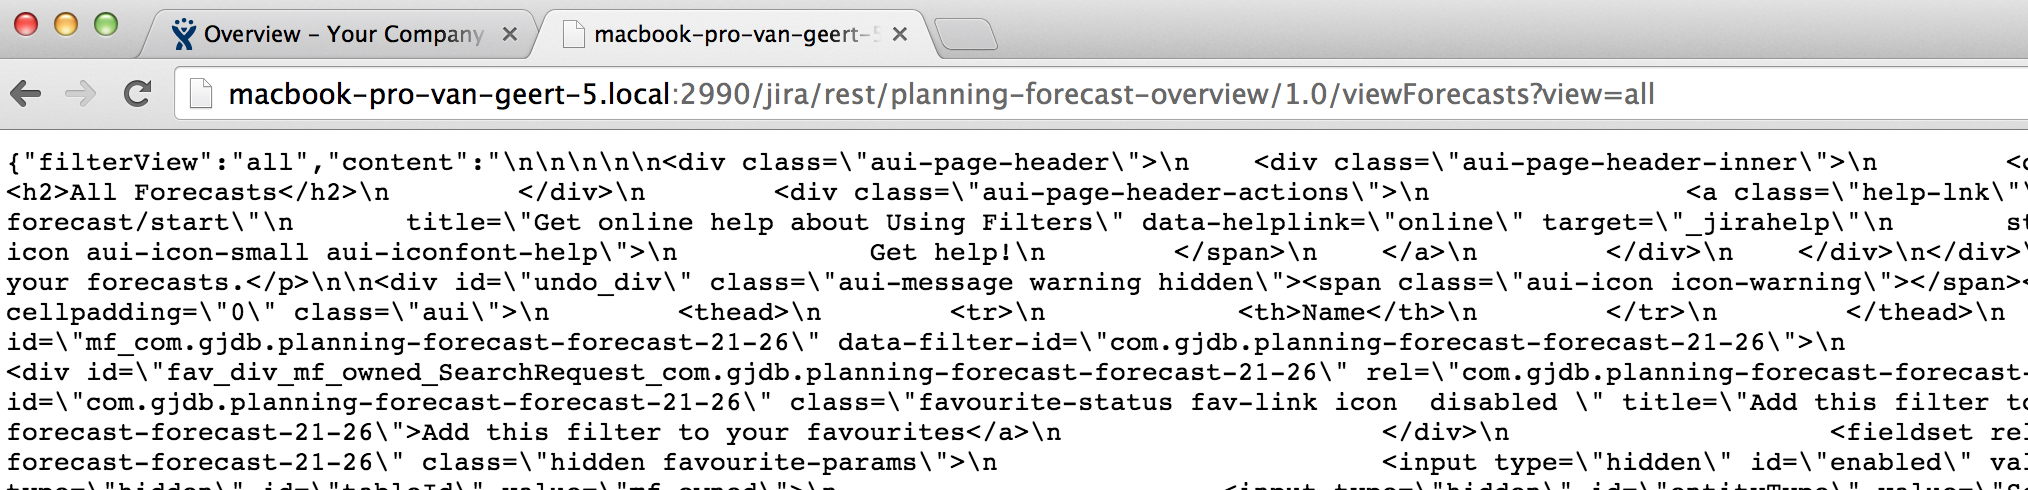
<web-item key="manage_forecasts_link" name="Overview of all forecasts" section="menu_link/menu_section_general" weight="10">
<label key="menu.forecast.manage"/>
<link linkId="manage_forecasts_link">/plugins/servlet/planning-forecast/viewForecasts</link>
</web-item>
<web-item key="started_link" name="Getting started" section="menu_link/menu_section_general" weight="10">
<label key="menu.forecast.start"/>
<link linkId="started_link">/plugins/servlet/planning-forecast/start</link>
</web-item>
<!-- dynamic web item -->
<simple-link-factory key="dynamic-factory-current" name="Dynamic Link Factory" section="menu_link/menu_section_current"
i18n-name-key="Dynamic menu" weight="30" lazy="true"
class="com.gjdb.plugins.jira.factory.DynamicLinkFactory"/>
<simple-link-factory key="dynamic-factory-recent" name="Dynamic Link Factory" section="menu_link/menu_section_recent"
i18n-name-key="Dynamic menu" weight="30" lazy="true"
class="com.gjdb.plugins.jira.factory.DynamicLinkFactory"/>
<simple-link-factory key="dynamic-factory-favourite" name="Dynamic Link Factory" section="menu_link/menu_section_favourite"
i18n-name-key="Dynamic menu" weight="30" lazy="true"
class="com.gjdb.plugins.jira.factory.DynamicLinkFactory"/>
Step 2: Implement the simple-link-factory
package com.gjdb.plugins.jira.factory;

import com.atlassian.crowd.embedded.api.User;
import com.atlassian.jira.plugin.webfragment.SimpleLinkFactory;
import com.atlassian.jira.plugin.webfragment.descriptors.SimpleLinkFactoryModuleDescriptor;
import com.atlassian.jira.plugin.webfragment.model.SimpleLink;
import com.atlassian.jira.plugin.webfragment.model.SimpleLinkImpl;
import com.gjdb.plugins.jira.model.Forecast;
import com.gjdb.plugins.jira.repository.ForecastRepository;
import com.gjdb.plugins.jira.util.UserUtil;

import java.util.ArrayList;
import java.util.List;
import java.util.Map;

/**
 * @author GJDB
 */
public class DynamicLinkFactory implements SimpleLinkFactory {

    private String section;

    public DynamicLinkFactory() {

    }

    /* (non-Javadoc)
         * @see com.atlassian.jira.plugin.webfragment.SimpleLinkFactory#getLinks(com.atlassian.crowd.embedded.api.User, java.util.Map)
         */
    @Override
    public List<SimpleLink> getLinks(User user, Map<String, Object> map) {
        List<SimpleLink> links = new ArrayList<SimpleLink>();

        if("menu_link/menu_section_recent".equals(section)) {
            links.add(new SimpleLinkImpl("recent-" + key, forecast.getDescription(), forecast.getDescription(), null, null, "/jira/plugins/servlet/planning-forecast/instance?key=" + key, null));
            }

        <logic for other menu sections removed>

        return links;
    }

    /* (non-Javadoc)
     * @see com.atlassian.jira.plugin.webfragment.SimpleLinkFactory#init(com.atlassian.jira.plugin.webfragment.descriptors.SimpleLinkFactoryModuleDescriptor)
     */
    @Override
    public void init(SimpleLinkFactoryModuleDescriptor simDescriptor) {
        section = simDescriptor.getSection();
    }

}